 ]]>
]]>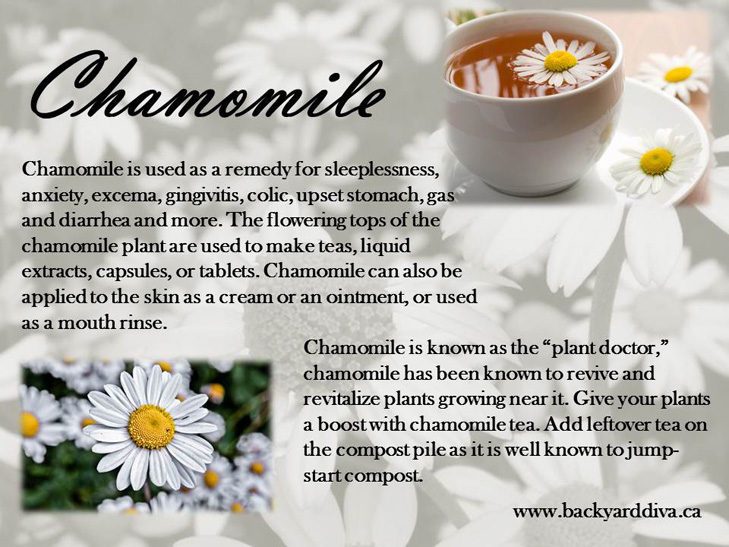
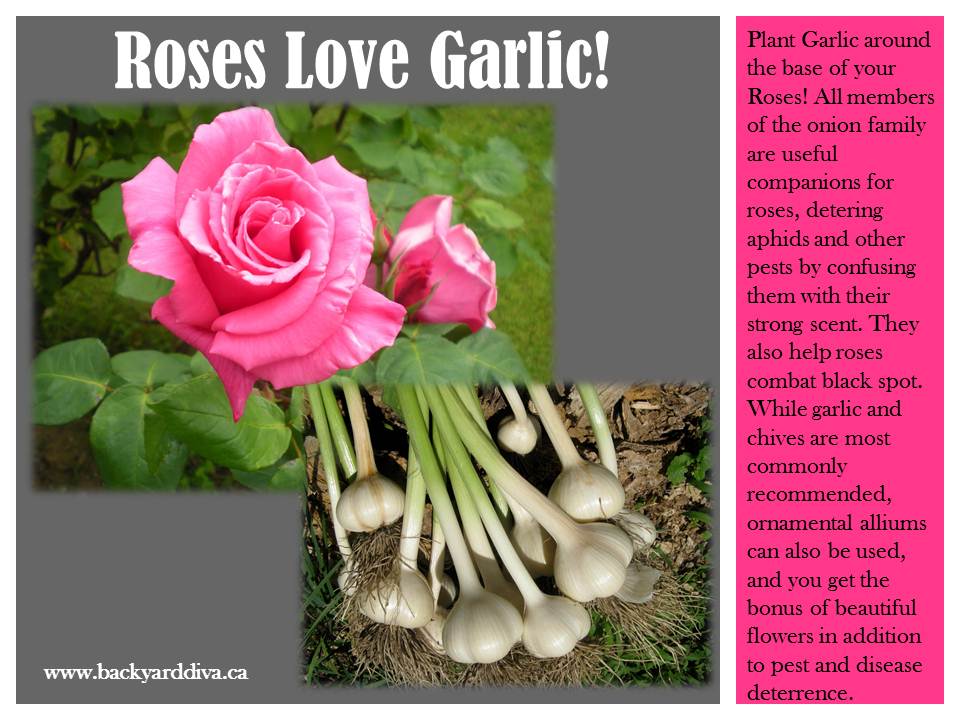
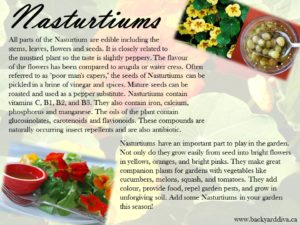
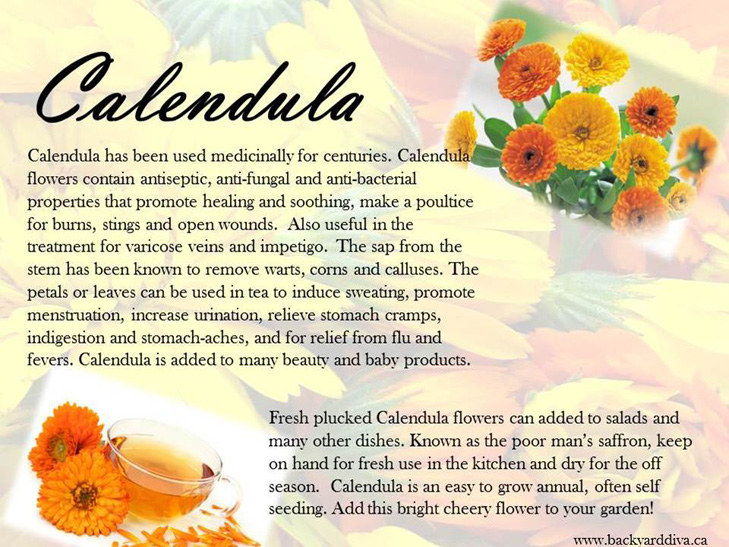
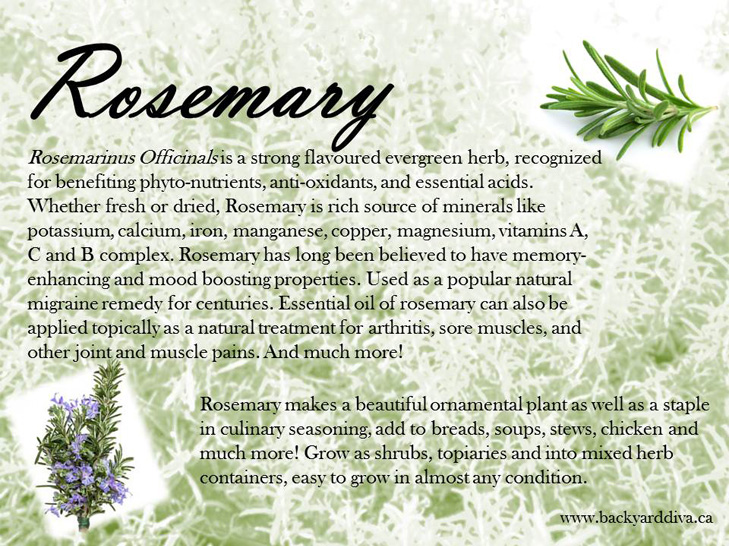
Herb Gallery


 ]]>
]]>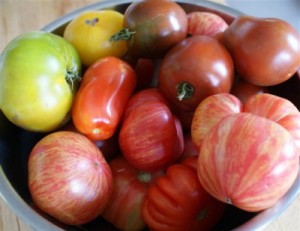
Four easy steps to saving your own heirloom tomato seeds!
Seed saving offers plenty of perks aside from saving money, it’s the long term benefit of cultivating the plants you really love and just knowing where they came from! Nothing ever tastes quite as good as a home-grown tomato!
Chose your favorite tomato, ripe off the vine, healthy and soft.
Seeds collected from upripe fruit will not germinate the following year.
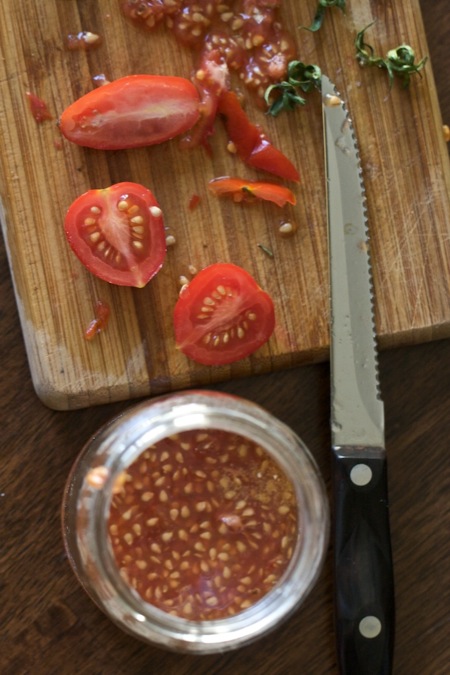 1. Take your chosen tomato and slice it in half across the middle. With a spoon or your well-washed fingers scoop out the seeds and their gelatinous goo into a clean container. Add a couple of tablespoons of water to the seeds. Cover the container with a piece of plastic-wrap and then poke the plastic-wrap with a paring knife or pen point to put a small hole in it…this is to allow for air-transpiration. (A little fresh air needs to get in and out of the cup to help foster fermentation.)
2. Let the mixture ferment for three to six days at room temperature – above the fridge or a sunny window works best, stir your mixture daily.
Change the water at least once during this process.
The top of the liquid will look scummy when the fermentation process has seperated the goo from the seeds.
It also helps destroy many of the possible tomato diseases that can be harbored by seeds.
3. Using a fine sieve – strain and rinse your seeds, assure that all surfaces are thoroughly rinsed.
Nonviable seeds will float to the top of your goo, discard these seeds along with your gelatinous goo.
4. Let your seeds dry on wax paper on a flat surface, such as a cookie sheet or plate. This will take a few days, if they do not dry properly they will be vulnerable to mold. Store the seeds in an envelope or paper bag in a cool dry spot – these seeds can be used for up to four years! Don’t forget to label!

Herb Gallery
]]>
Herb Gallery
]]>
No Yard or balcony.. don’t fret!
You can grow your own food right on the counter!
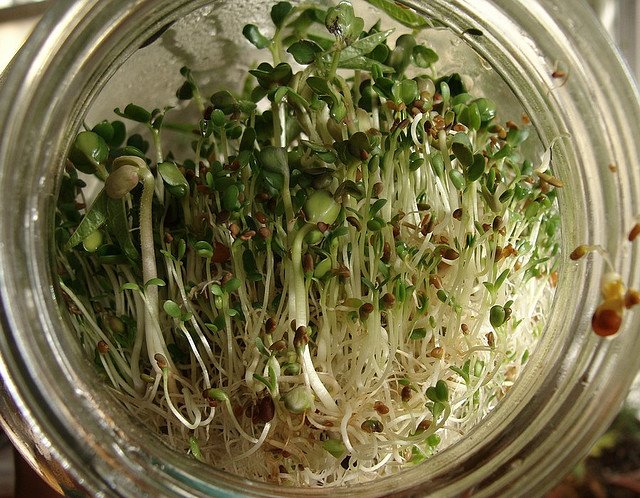
Grow your own Sprouts
Healthy, organic, easy and fun to grow!
Ready to eat in 3 – 6 days.
Add to salads, sandwiches and more.
Instructions:
Put approximately 2 tablespoons of seeds in to wide mouth jar.
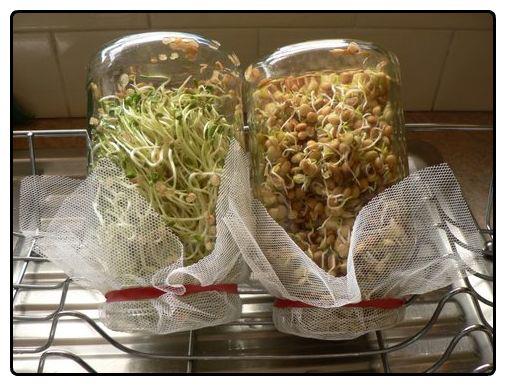
Cover jar with screen (as shown here) and secure with rubber band or use a sprouter topper.
The first day soak seeds for about 2 hours with cool water then drain.
Rinse seeds twice daily thereafter, swirling water around and drain.
Invert jar at different angles after each rinse to sprout all seeds evenly.
To keep fresh and or slow down growing process store well drained sprouted seeds in fridge and use as required.
For larger amounts you can purchase fancy sprouting systems, you can eat almost any vegetable/grain seed sprouted, the health benefits are amazing!
Sprouting for Health
Sprouted seeds contain vital nourishment needed by our bodies. Sprouts are very nutritious because they contain all elements a plant needs for life and growth. The endosperm of the seed is the storehouse of carbohydrates, protein, and oil. When the seed germinates, these become predigested amino acids and natural sugars upon which the plant embryo feeds as it grows to maturity. When used as food, the life force is released and supplies the energy which is capable of generating healthy cells in the body and supplying us with new vigor and life. Used in a regular diet, sprouts can help reverse the aging process, since they contain ample amounts of male and female hormones, available in their most assimilable form. Processed foods often lack the vitamins and minerals necessary to a balanced diet. Research shows that, in sprouts, one finds one of the foods highest in vitamin and mineral content. Sprouts should, therefore, occupy a prominent place in the diet. Among their other virtues is the fact that the seeds are low in cost, can be stored indefinitely, and are easy to grow, and, when sprouted, increase their nutritional value many times. (health information provided by Sprouting for Heath)
Find what you need here:
In the USA
In Canada
Herb Gallery
]]>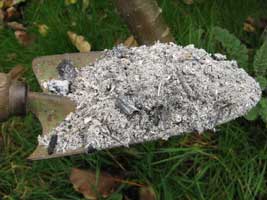
Turn your wood burning ashes into a useful nutrient for your garden!
Homes with wood stoves and fireplaces for winter heat and backyard fire pits create many tons of ash that can be recycled in our gardens. If you intend to recycle ash from these sources, burn only plain paper or newsprint and clean wood; do not include glossy paper or treated wood. Fall and winter months are the best time to distribute ash in the garden, this way it can settle in to the soil and release its nutrients the following spring.

Find over 1500 All Natural Garden Secrets here!
There are many benefits that come from adding clean burning wood ash in the garden. Ashes contain phosphorous, magnesium, potassium and calcium carbonate, all of which are important in maintaining healthy garden soil. Wood ash has an alkaline pH so is excellent for raising the pH in acid soils. The ash helps deter slugs and a number of other harmful pests. When applied to the soil, it acts much like limestone by raising the pH or alkalinity of the soil. Unlike limestone, wood ash has high water solubility and works quicker to change the soil pH. This may cause a problem in many gardens that tend to have a naturally high soil pH. Wood ashes should not be applied around acid-loving plants, such as azaleas, rhododendrons, and blueberries. Although a soil test is the best way to determine whether wood ashes are needed in your garden soil, an annual application of no more than 20 pounds sprinkled over 1,000 square feet of the lawn or garden in the fall or winter should be safe. In the spring and summer add your clean burning wood ash to the compost pile!
]]>
Herb Gallery
]]>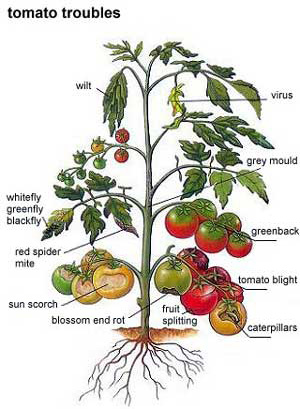
Tomato Troubles
Tomato problems may be caused by nutrient deficiencies, diseases, fungi or insects.
Assess the symptoms, then make the appropriate treatment.
Plant tomatoes where they will get at least 10 hours of light in summer. Leave room between plants for air to circulate. Alternate growing areas for tomatoes and you diminish the risk of soil-borne diseases such as bacterial spot and early blight. Plant your tomato seedlings up to the first true leaves.New roots will quickly sprout on the stems. More roots means more fruits.
1. Yellowing Leaves
Yellowing and discolored leaves where the veins are still green is a sign of either a phosphorous or calcium deficiency. Amend this with an organic fertilizer, try epsom salts. Learn more about epsom salts here: https://backyarddiva.ca/garden-tips-6/
2. Insects
Horn worm, aphids, moth and beetles can cause severe damage to your fruit. Remove and destroy insects as soon as possible. Use an organic natural pesticide spray to help deter the smaller insects. Recipe here: https://backyarddiva.ca/homemade-natural-pesticide/
3. Splitting Fruit
Like the foliage that’s dying back, splitting tomato fruit is a sign of uneven watering. As the fruit is ripening if the plant receives too much water the skin will split because the fruit’s skin can no longer expand. Provide your plants with a good 2 – 3″ inch layer of organic mulch such as straw, pine needles, or shredded bark. This will maintain more regular soil moisture levels, and you’ll deal with less splitting.

Great reference book!
Get it here:
4. Sun Scorch
Sun scorch is irreversible once it’s impacted a tomato, but its progression can be slowed. You can leave exposed fruit on the vine and cover it with lightweight screen, shade cloth, or straw to protect if from further damage. You can also harvest scorched tomatoes and let them finish ripening on a windowsill or kitchen counter.
5. Greenback
Greenback is a disorder which generally occurs in greenhouse grown tomatoes. The area around the stalk does not. It remains resolutely green or yellow and tougher in texture. A combination of factors including too little potassium and phosphorous and too much direct sunlight and high heat are to blame. Cover your tomatoes with a shade screen, plenty of ventilation and amend soil with organic fertilizer.
6.Grey Mould/Leaf Mould
Leaf mould can develop rapidly to cause significant yield loss in greenhouse-grown tomatoes. It is rarely seen on outdoor crops. Provide ample ventilation to avoid an excessively moist atmosphere. Try to avoid wetting the leaves when watering. This is particularly important when watering in the evening, as the leaves may then stay wet throughout the night. Pick off infected leaves as soon as they are seen, and dispose of affected plants and all debris at the end of the season.
7. Blossom End Rot
Blossom end rot generally develops when the fruit’s demand for calcium exceeds the supply in the soil. This may result from low calcium levels in the soil, drought stress, excessive soil moisture, temperature fluctuations due to rain or over watering . This disease does not spread from plant to plant in the field, nor from fruit to fruit. Tomatoes planted early in cold soil are likely to develop blossom end rot on the first fruits, planting tomatoes in warmer soils helps to alleviate the problem. Add more calcium to your tomatoes when they begin to bloom: espom salts and/or milk is a great way to get that calcium to your tomatoes.
8. Tomato Blight
Blight is caused by fungus, symptoms tend to become prevalent during the hotter months. This disease produces brown to black spots on older leaves. If severe, the fungus also attacks stems and fruit. Affected leaves may turn yellow, then drop, leaving the fruit exposed to sunburn. Sanitation is the best control. Remove all diseased plant tissue on the ground, as the fungus overwinters on leaf debris. Do not plant tomatoes in the same place next year. Space plants farther apart to improve air circulation. Avoid overhead irrigation.